
heel flaps for dummies, jaywalker style
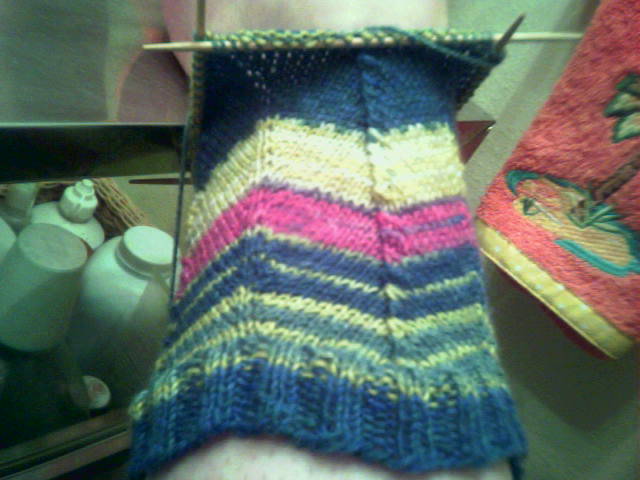
(My jaywalker, on my ankle, on the bathroom counter because it's the only room with good enough lighting to take decent pictures with my camera phone, because I don't have a digital camera.)
Okay, I'm down to the heel flap, and the directions say k21 on needle 1 (so that's all the sts on needle 1), turn, sl1 and then p41. I was sitting here thinking, "but that will leave me with 1 stitch on needle 4! What should I do? Should I just slip that onto needle 3 to keep it out of the way? That'll be so confusing!"
And then I remembered the slipped stitch BEFORE the p41, which when added to the 41 makes 42 (keep up with me here), which accounts for all stitches on needles 1 and 4 and there is no problem. ...I think I should take a break now because this is clearly too much for me.
posted by Cari at
6:54 PM
![]()
![]()


3 Comments:
Ha. I just e-mailed you to the group e-mail.
You got it!
By Scoutj, at 7:09 PM
BTW- Go YOU! They look great so far!
By Scoutj, at 7:48 PM
Beth! That was hilarious. I can't even type the verification sober, so I'm very impressed that you managed it drunk. I think I'm getting the heel flap concept now... We'll see when it comes to picking up the stitches for the gussets, I guess.
Scout-thanks! I'm so glad you talked me into joining the KAL, you saleswoman you!
By Cari, at 6:01 PM
Post a Comment
<< Home